Showing posts with label arche. Show all posts

Friday, August 23, 2013

....is LAdventure: the MOCA, Morphosis & Ghery


Last Friday was my last Furlough Day! 
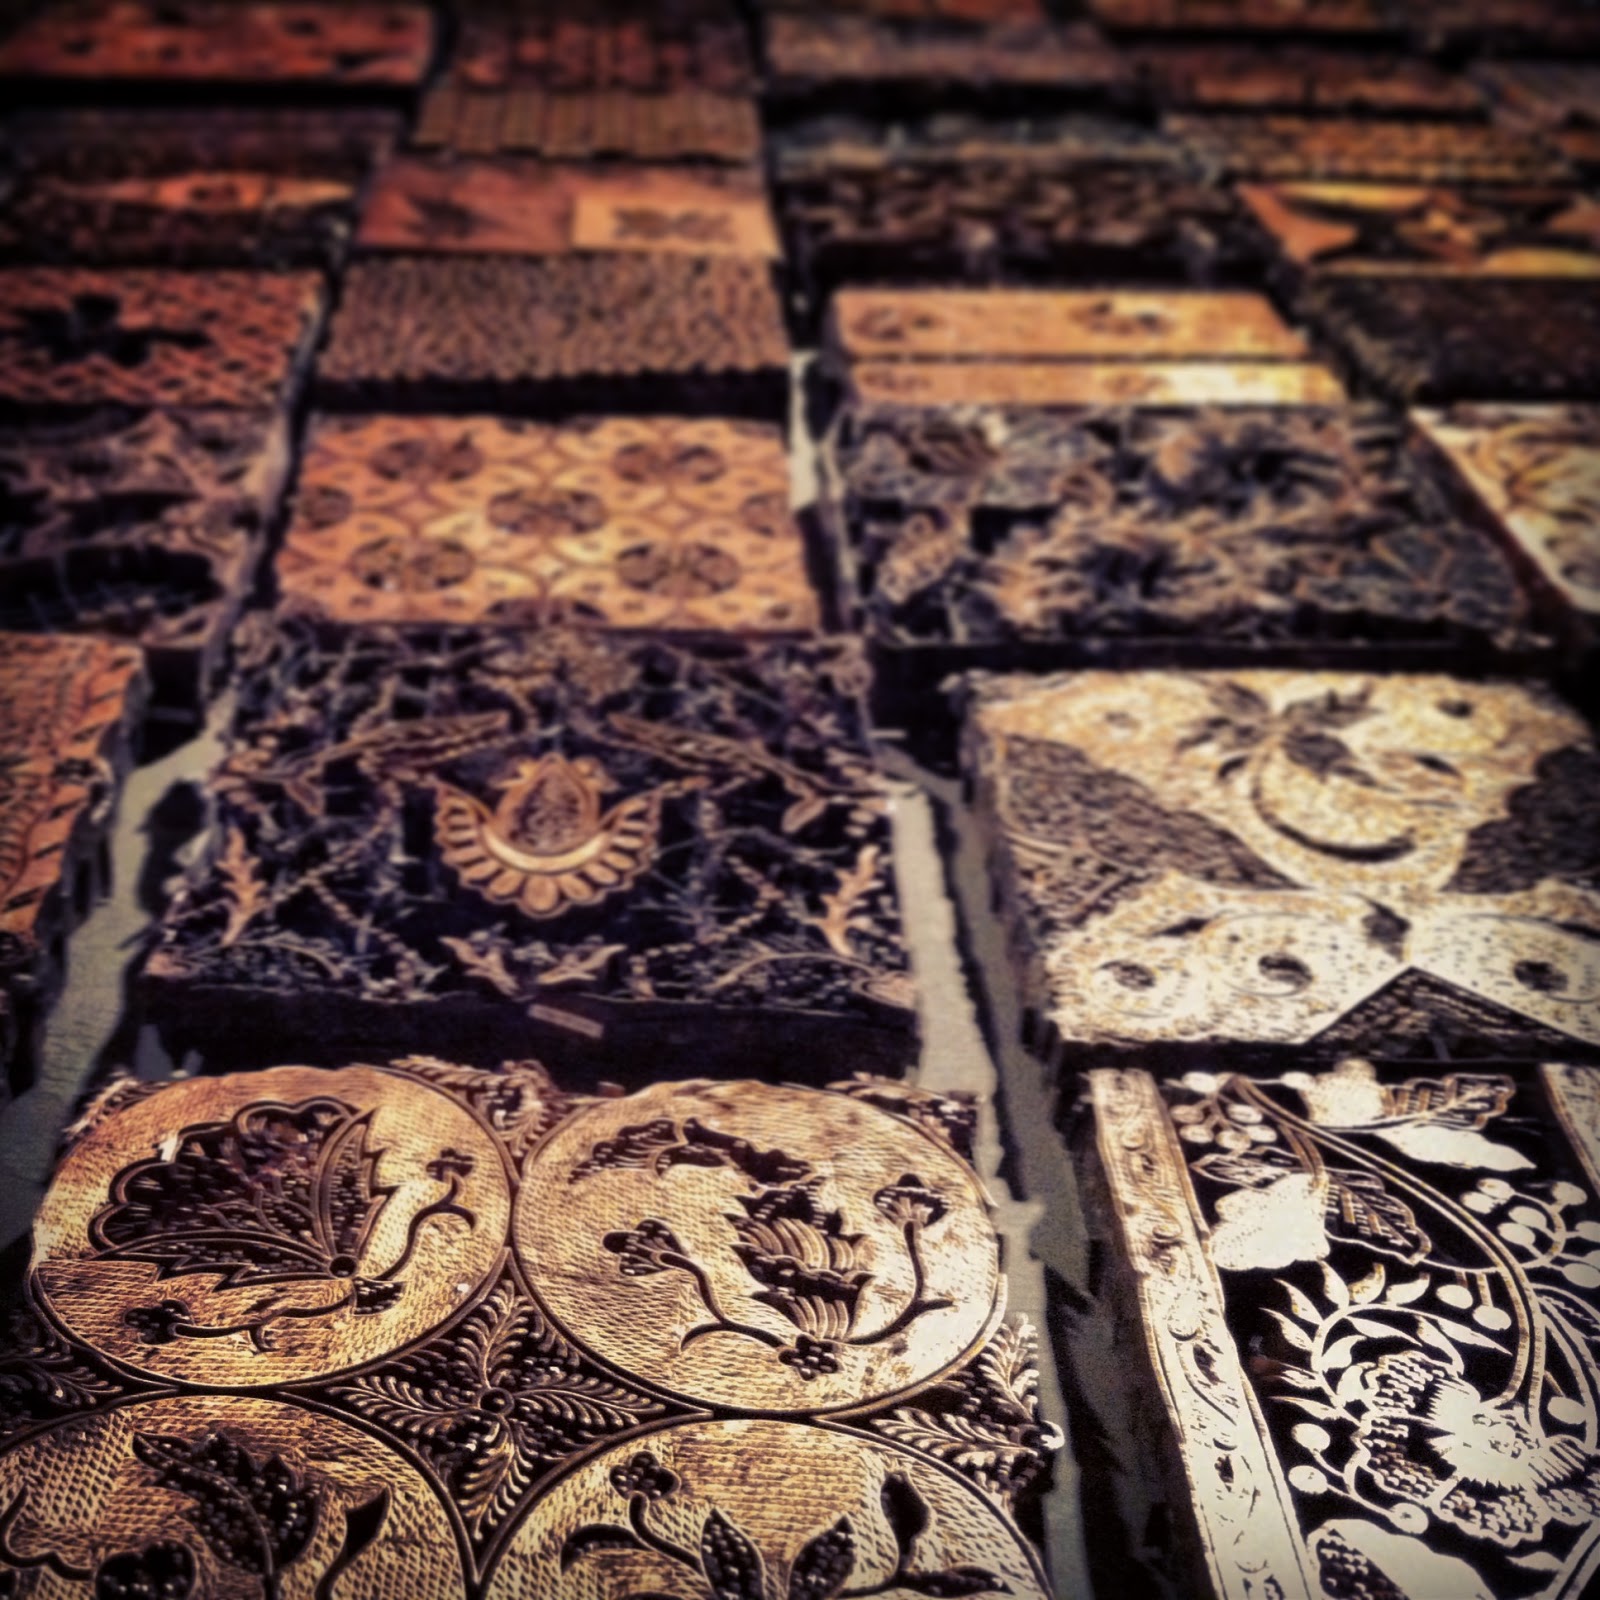
To celebrate our Final Furlough Friday I went on an art & architecture adventure to Los Angeles with CPB (& my brand new DSLR*!). It was a wonderful day packed with clay, architectural models, drawings, sketches, Morphosis & CalTrans, Disney & Ghery and the ever present LA traffic.

*Side Note: Did you know my blog photo's were all taken with an iPhone? They are, I have a little handheld camera but I think they come out ok on my phone and from my phone they can be easily posted anywhere I want them. The pictures definitely come out better when I take them in daylight, the images taken under the terrible yellow light of my kitchen don't look nearly as nice. This usually requires me running between my kitchen and dining room table (because it's by the window), it's an amusing production. My phone gets shoved in my pocket, covered in flour and sometimes passed off to CPB with specific directions on how to take the perfect picture (I'm a high maintenance photographer, he does a lovely job).  Also, the apps on my phone make it incredibly easy to write on the pictures. I'll continue to take most of my pictures that way for the convenience, but here's my debut with a high tech toy....

Friday, March 15, 2013

....is Lights Part 2, Pieces

Here's the pieces used to create the pendent light above my dinner table. Initially the cords were hung on three hooks similar to the one at the bottom of the page. I liked the lights themselves but the hardware made them look unfinished. So with my favorite architect, CPB, we came up with a plan that looks more intentional. We left one hook to get the HuckDuck light to hang in the center and then used the grooves on the octagon extension ring to help spread the other two cords out slightly. The extension ring, electrical cover, split ring hangers & cages are all spray painted the same textured bronze. 

This project had a few obstacles to overcome. I'm renting, and didn't want to risk hardwiring anything in a place I don't own. The crown molding and wire management served as challenges but the split ring hangars helped guide the wires around the molding and keep them contained. 

While some single lights can cost hundreds of dollars we tried to create something both unique and cost effective. More to follow, I don't think we're quite done yet...

The Cords:
I got my huckduck cord from fab.com. (their sales cycle out so the link might not work)
You can find similar cords here and also here! Make sure you get the cord length you want, additional length will cost extra per foot.

The less fancy (and a bit less expensive) cord came from World Market and we gave it a vintage look with a little matte black spray paint. Make sure to tape it up good and plug the socket with a paper towel to make sure the paint doesn't affect it.

The Lights:
For the HuckDuck cord I used this bulb.
Antique Light Bulb - Marconi Filament

The World Market cords both have this bulb.
Antique Light Bulb - Clear - A19

Another way we classed up these cords was with a little extra detail.

The Hardware:
Raco 1-Gang Octagon Electrical Cover


Crown Bolt 3 lb. x 5/8 in. Brass-Plated Cup Hooks 

Wednesday, March 6, 2013

....is Lights Part 1, Progress

My dining table is by a window. It's probably the best spot to take pictures during the day time. But there's no light over the table, so at night the corner becomes dark and a little grim. Here's the beginning and first try at adding a little light to the dining nook.


Details and how to will follow shortly!

Thursday, February 7, 2013

....is .875 Architect!!!


I'm almost there! I passed my 7th of 8 tests!!! It's a little anticlimactic because I have to wait until the Fall to take the 8th and final test. 1404 working hours, that's what stands between me and the final test and from calling myself and Architect. I can't believe how long this process has taken but I'm ready to have a HUGE celebration when I make it, 1404 hours and 1 test from now.

Saturday, January 5, 2013

....is .625 Architect!


Yesterday I found out I passed my fifth and arguably the hardest of my exams. That's right this girl is 5/8th architect!!! I'm still waiting on one more result and will most likely take the final national test this month. From there I have to wait to complete my work experience hours before the State of California will 'invite' me to take the eighth and final test. I can hardly wait!


Sunday, November 25, 2012

....is .325 Architect?


Can you be 32.5% architect? If there is such a thing, I'm one of them.

Tests Passed: 3!
Tests Remaining: 5....


Sunday, October 7, 2012

....is a Testing Break

Time to become an architect, looks like my little blog is going to take a major hit until December. I have sold my soul to eight tests and a class with an intense study schedule. Ideally this will allow me to be licensed though it comes at the expense of any free time, so fingers crossed!.

Now if only I could fight off the urge to bake chocolate chip cookies.
Until later....

Saturday, July 28, 2012

Friday, May 11, 2012

....is a Wine Closet, Part 3: Final Installation


Finished and Filled!

At the Beginning.

The start of the installation, a structural board with marked screw locations gets drilled into the wall. Then a layer of wood glue, a shelf and a second layer of glue before screwing in the second structural board. The pattern gets repeated up the wall and didn't take long to finish. I thought it would take a couple people working on it and allowing time for the glue to dry but Mr. M was able to install it himself in an afternoon. I'm sure it was all the prep work Mrs. M and I did that simplified the process.

All but the top Shelf installed.

A few bottles to test it out.

A few more....

Final shelf in and another function added.

Mr. & Mrs. M drilled cork-sized holes in the top shelf, because of the height of the closet the top shelf wasn't fully functional as a wine shelf. So now it holds corks. Genius!

Thursday, May 3, 2012

....is a Wine Closet, Part 2: Material Preparation

The closet begins to fill....
First let's rewind and I'll show you the prep work we did before the installation.

A home depot trip to get 18 pine boards. Originally 8'-0, they cut them down to the size we needed to fit the closet.

The Shelves - Cut
Mr. M and I set up the router and made a little wall with the extra pieces to help catch the sawdust. We used one small piece to run a test cut and then began with the actual boards.

We ran half of the boards through the router twice to create the one and a half inch groove. For the most part it went smoothly, there were a couple boards we had to run through again and a little sanding that happened later.

All the boards, routed and awaiting Paint!

The Closet - Paint
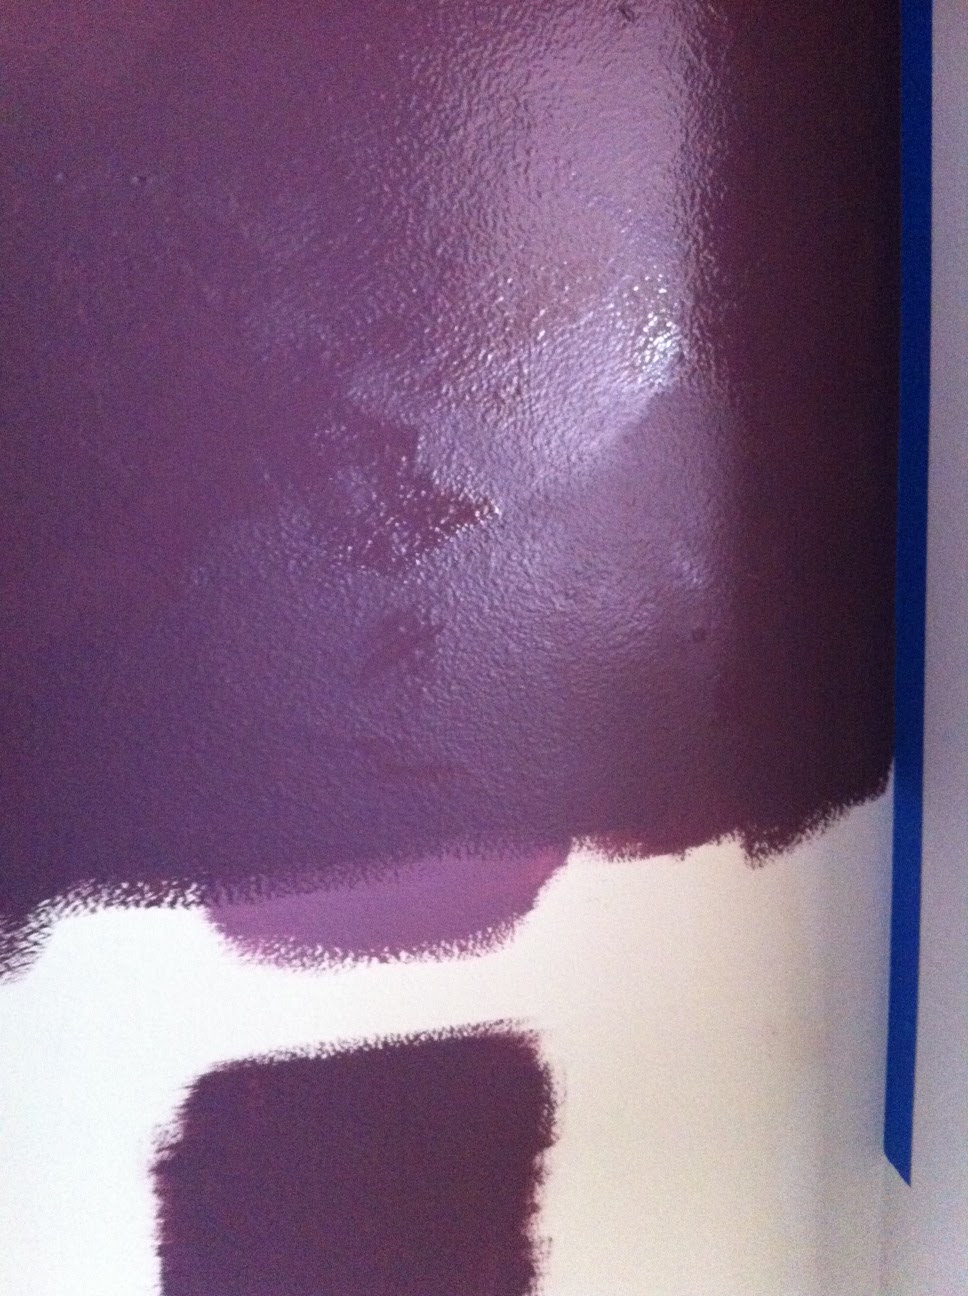
We knew we wanted a purple, but in a small space with limited daylight we had to double check it wasn't too dark. So Mrs. M painted a few swatches of the two purple finalist.

It was a unanimous final decision for 'Shy Violet', the darker of the two. It's bold, fun and contrasts well with the light green walls in the living room. Even in the back corner of the closet it still looks purple.

Mrs. M did all the painting, I was there for opening doors and occasionally holding things. Also, at this point I was baking this delicious treat for Sunday night dinner with Mr. & Mrs. C.

The white walls all got a fresh coat of paint and it did amazing things to help brighten up the small closet. The purple only needed to go so far down the wall because support boards (also painted purple) will cover up the rest when the shelves are installed.

There's not real reason for this picture, I just want to show off the lovely color again...

The Structure - Puncture & Paint
Mrs. M and I lined up the support boards, taped them with painters tape (to keep them from shifting) and measured out where the screw holes were to be drilled. The distance was based on the studs in the closet wall, it was about every 16", this spacing will add an additional layer of support once installed. (Stud finders are a wonderful thing!) I marked the location and Mrs. M created a slight puncture that would still be visible after they were painted.

More of Mrs. M painting, it was all done in one day! The purple needed 2 coats (and it was a paint/primer combo) but it dried quick enough that by the time we finished the 9th board the 1st board was dry and ready for a second coat.

The Shelves - Paint
Where the structural boards only needed paint on 1 face the shelves needed to be pained on all but the edge facing the wall. We did one coat on the bottom and 2 on the top and front edge.

As you can see we had a really sophisticated set up. Shoe boxes and extra boards were used as drying racks. After this process I think I had Mrs. M convinced that a couple of saw horses would have come in handy. But honestly, we had the space we needed and because we were in the garage we weren't too concerned with the mess we made.

See, I help. Super Shelf Holder was my official title.

Painting done!

Previously
Coming Soon


LinkWithin

Related Posts Plugin for WordPress, Blogger...